How Do You Install a Metal Roof the Right Way?
A metal roof is a significant investment in your home’s future, offering unparalleled longevity and energy efficiency. However, these benefits are only realized when the roof installation process is executed flawlessly. A single mistake can lead to leaks, corrosion, and costly repairs down the road.
This comprehensive guide on how do you install a metal roof breaks down the essential steps, from preparation to the final touches. We’ll explore the techniques and materials that ensure your new roof stands the test of time, providing a durable and beautiful shield for your home.
Why Choose a Metal Roof? The Rise of Durable Roofing Solutions
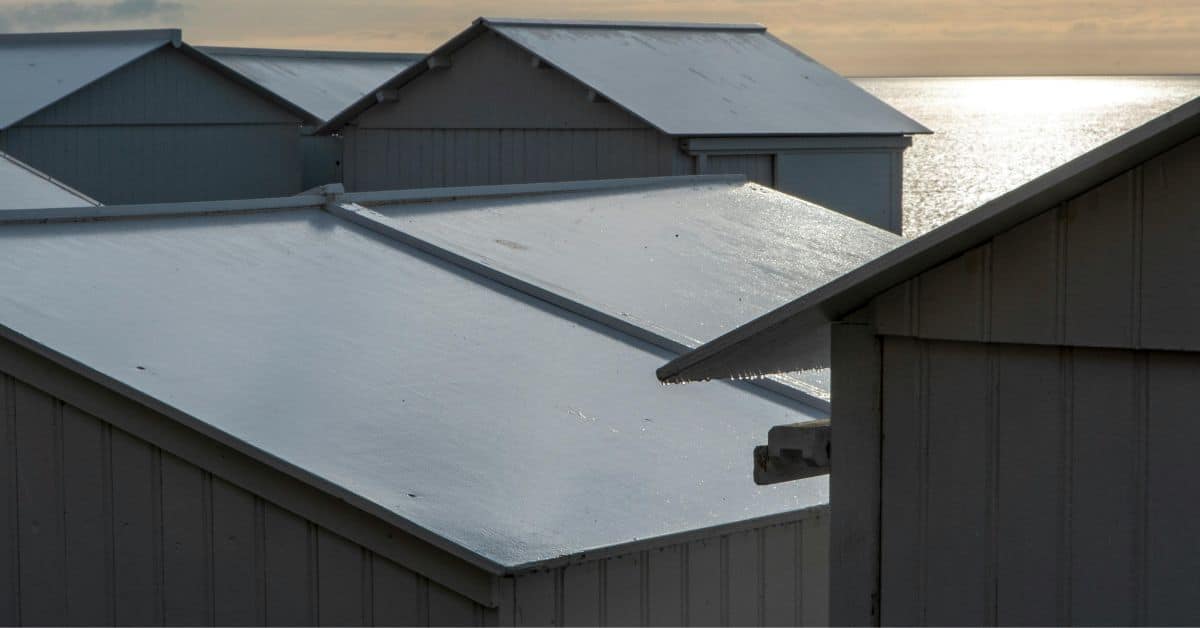
Before diving into the installation, it’s important to understand why so many homeowners are choosing metal. Unlike traditional asphalt shingles that need replacing every 15-20 years, a properly installed metal roof can last 50 years or more, making it one of the most durable roofing solutions available.
They are also highly resistant to fire, wind, and impact, and their reflective properties can lower your cooling costs. Achieving this level of performance, however, is entirely dependent on a precise and professional installation.
Before You Begin: Essential Preparation for Metal Roof Installation
Proper preparation is more than half the battle. Rushing this stage is a common mistake that can compromise the entire project. Taking the time to prepare the site, gather the right tools, and prioritize safety is a non-negotiable part of the process.
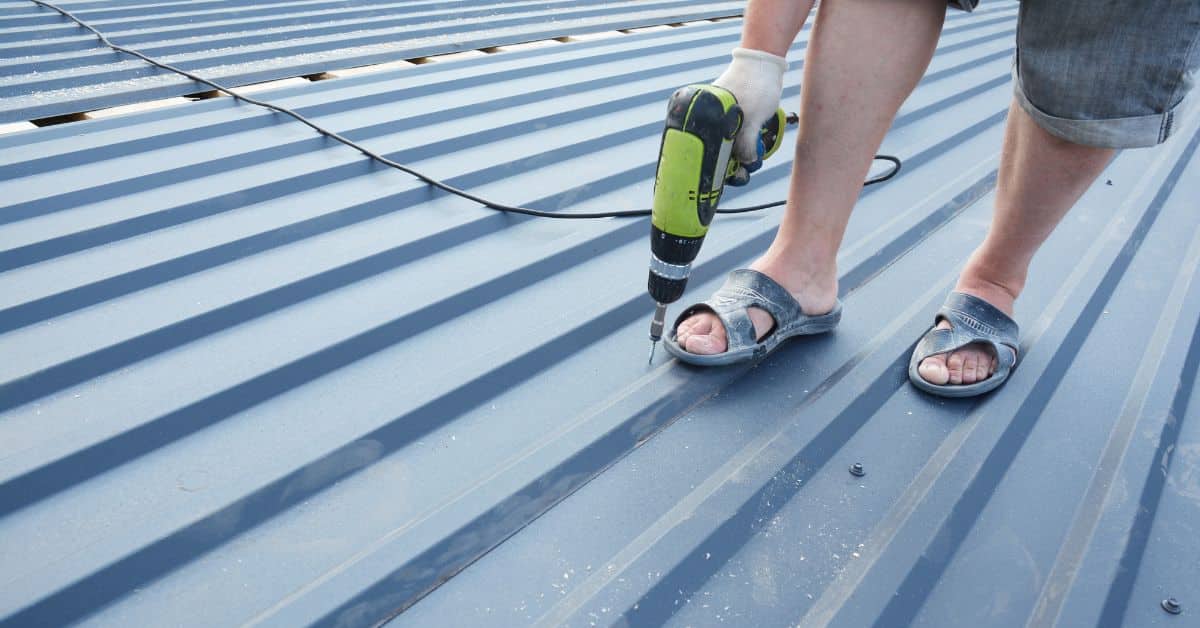
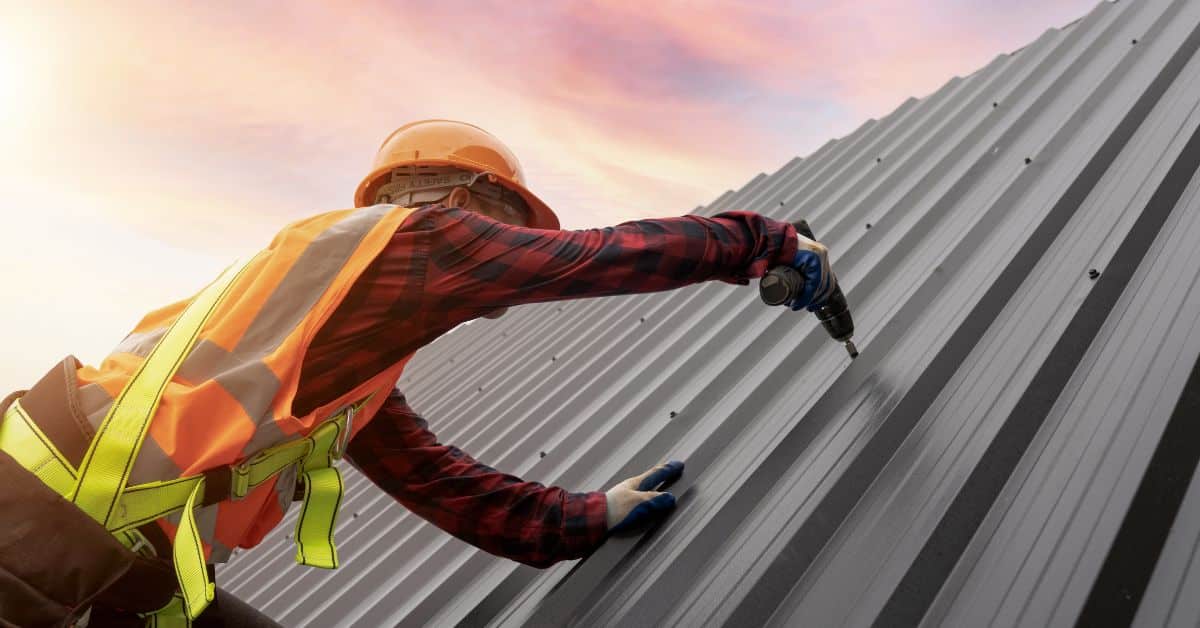
Safety First! Working on a roof is inherently dangerous. Always use proper safety equipment, including a fall protection harness, non-slip roofing boots, safety glasses, and durable work gloves. Never work on a wet or windy day.
- Gathering Your Tools and Materials: Having everything on hand before you start prevents delays and ensures a smooth workflow. Here are the essentials:
- Tools: Screw gun with a torque setting, aviation snips (left, right, and straight cut), measuring tape, chalk line, utility knife, caulk gun, ladders, and scaffolding or roof jacks.
- Metal Roof Materials: Metal roofing panels, matching fasteners with EPDM washers, synthetic high-temperature underlayment, drip edge, gable trim, ridge caps, valley flashing, vent pipe boots, and high-quality roofing sealant.
The Metal Roof Installation Guide: A Step-by-Step Process
This section outlines the fundamental steps for metal roofing on a typical residential project. Always remember to consult the specific manufacturer’s instructions for your chosen panels, as details can vary.
Step 1: Prepare the Roof Deck
Start by removing the old roofing material down to the wooden deck. Inspect the sheathing for any rot, soft spots, or damage, and replace any compromised boards. Sweep the deck clean of all debris and old nails to ensure a smooth, flat surface.
Step 2: Install the Drip Edge
The drip edge is installed along the eaves (the lower edges of the roof). This metal flashing directs water away from the fascia and into the gutters. Secure it over the underlayment at the eaves and under it at the gables (the sloped sides).
Step 3: Lay the Underlayment
For metal roofing, a high-temperature, self-adhering synthetic underlayment is essential. It acts as a secondary water barrier, protecting against condensation. Start at the eave and roll it out horizontally, overlapping each subsequent course by at least 6 inches, and secure it with cap nails.
Step 4: Install Trim and Flashing
Before the first panel goes on, you must install the gable trim, eave trim, and any valley flashing. Valleys are critical areas for leaks, so ensure the flashing is installed correctly, sealed, and provides a clear channel for water runoff.
Step 5: Place and Secure the First Panel
The first panel is the most important, as it sets the line for the entire roof. Ensure it is perfectly square to the eave and overhangs by about 1 to 1.5 inches. Secure it with the recommended fasteners, driving them through the flat of the panel next to the major ribs, ensuring the washer is compressed but not over-tightened.
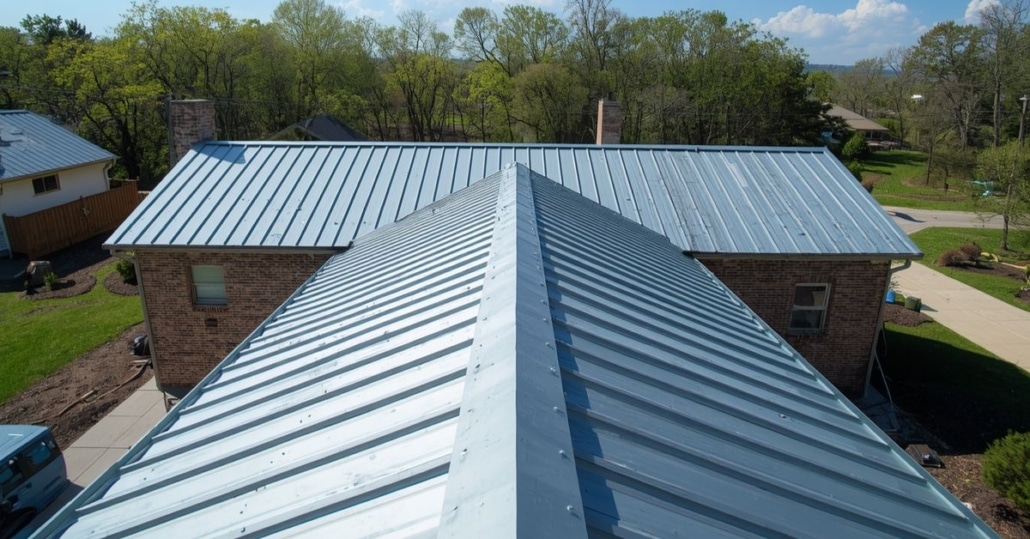
Step 6: Continue Installing Panels
Overlap the next panel over the rib of the first, ensuring a snug fit. Continue this process across the roof, checking for square every few panels. Fasten each panel according to the manufacturer’s specified pattern to ensure optimal wind resistance.
Step 7: Install the Ridge Cap
Once both sides of the roof are paneled, the ridge cap is installed at the peak. A vented ridge cap is often used to allow hot air to escape the attic. Apply sealant or closure strips under the cap to create a watertight, pest-proof seal before fastening it in place.
Common Mistakes to Avoid When Installing Metal Roofing
Even a small error can have big consequences. Here are some common pitfalls to avoid during a residential metal roof installation:
- Improper Fastening: Over-driving screws can damage the washer and panel, while under-driving screws can leave a gap for water to penetrate. Use a screw gun with a proper clutch.
- Walking Incorrectly on Panels: Always walk on or near the ribs where the panels are supported by the roof deck. Walking on the flat “pan” section can cause dents.
- Using the Wrong Sealant: Only use a high-quality, non-corrosive sealant (typically a tripolymer or polyurethane) designed for metal roofing. Silicone can cause corrosion.
- Forgetting to Clean Up: Small metal shavings and filings (swarf) left on the roof will rust and stain the panels. Use a soft brush or leaf blower to clean the surface at the end of each day.
DIY vs. Professional Installation: Making the Right Choice
While this guide provides a roadmap, installing metal roofing is a complex and physically demanding job that requires specialized tools and expertise. A DIY installation can save on labor costs, but the risks are high. An improperly installed roof can void the material warranty and lead to extensive water damage.
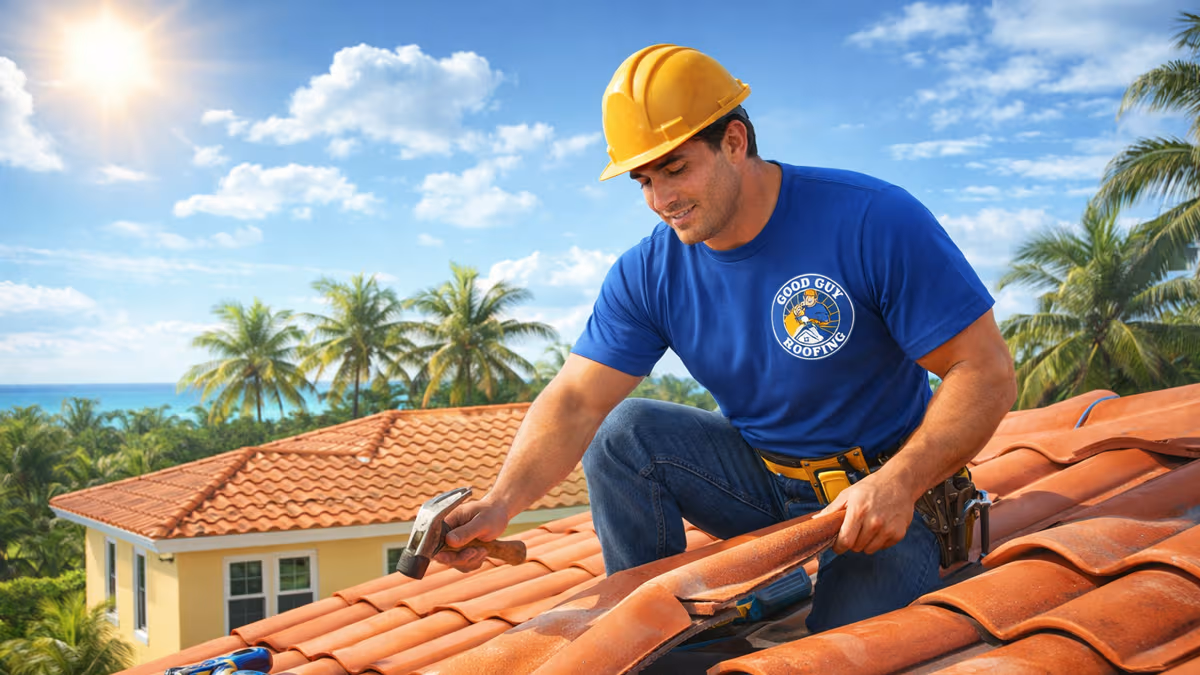
Hiring a professional ensures the job is done safely, efficiently, and correctly the first time. A seasoned team like Good Guy Roofing has the experience to handle complex roof lines, proper flashing techniques, and the nuances of different panel systems. This guarantees your investment is protected for decades to come.
Final Roofing Installation Tips from the Pros!
To wrap up, here are a few more pro-level roofing installation tips:
- Check for Square: Constantly check that your panels are running square to the ridge and eaves. A small error at the beginning will become a huge problem at the end.
- Plan Your Cuts: Measure twice and cut once. Plan your panel layout to minimize waste and ensure clean, straight cuts.
- Account for Thermal Movement: Metal expands and contracts with changes in temperature. Ensure your fastening system and trim allow for this natural movement to prevent buckling.
A metal roof is a superior choice for any home, but its performance hinges on the quality of the installation. By understanding these critical steps and the importance of precision, you can ensure your roofing project is a resounding success. For a flawless finish and complete peace of mind, always consider partnering with a trusted professional. The team at Good Guy Roofing is ready to help you build a roof that lasts a lifetime.